

To successfully hike the W Trek, you must be capable of walking 15 – 20 kilometers per day for five consecutive days while carrying a pack weighing between 7kg and 12kg. While the trail is not technically difficult, the combination of cumulative fatigue, high winds, and steep granite descents requires a structured 12-week training plan to move from “city fit” to “trail ready.” See the W Trek planning guide for the route and accommodation choices that affect the pack you train with.
Preparation is the difference between enduring the trek and actually enjoying it. The W Trek is an endurance event that rewards consistency over intensity. By focusing on aerobic base building, functional strength, and specific “downhill” conditioning, you can prevent the common overuse injuries that often sideline hikers before they reach the Grey Glacier.
Training At A Glance
- Duration: 12 weeks (recommended)
- Minimum Baseline: Ability to walk 5km comfortably on flat ground
- Weekly Commitment: 3 – 5 hours initially, peaking at 8 – 10 hours
- Key Focus: Eccentric leg strength and aerobic endurance
- Equipment Needed: Trekking boots and the backpack you intend to use
Preparing for the physical demands of Torres del Paine starts with understanding the environment. For a full assessment of the trail’s challenges, read our guide on is the W Trek difficult.
The Physical Demands of the W Trek
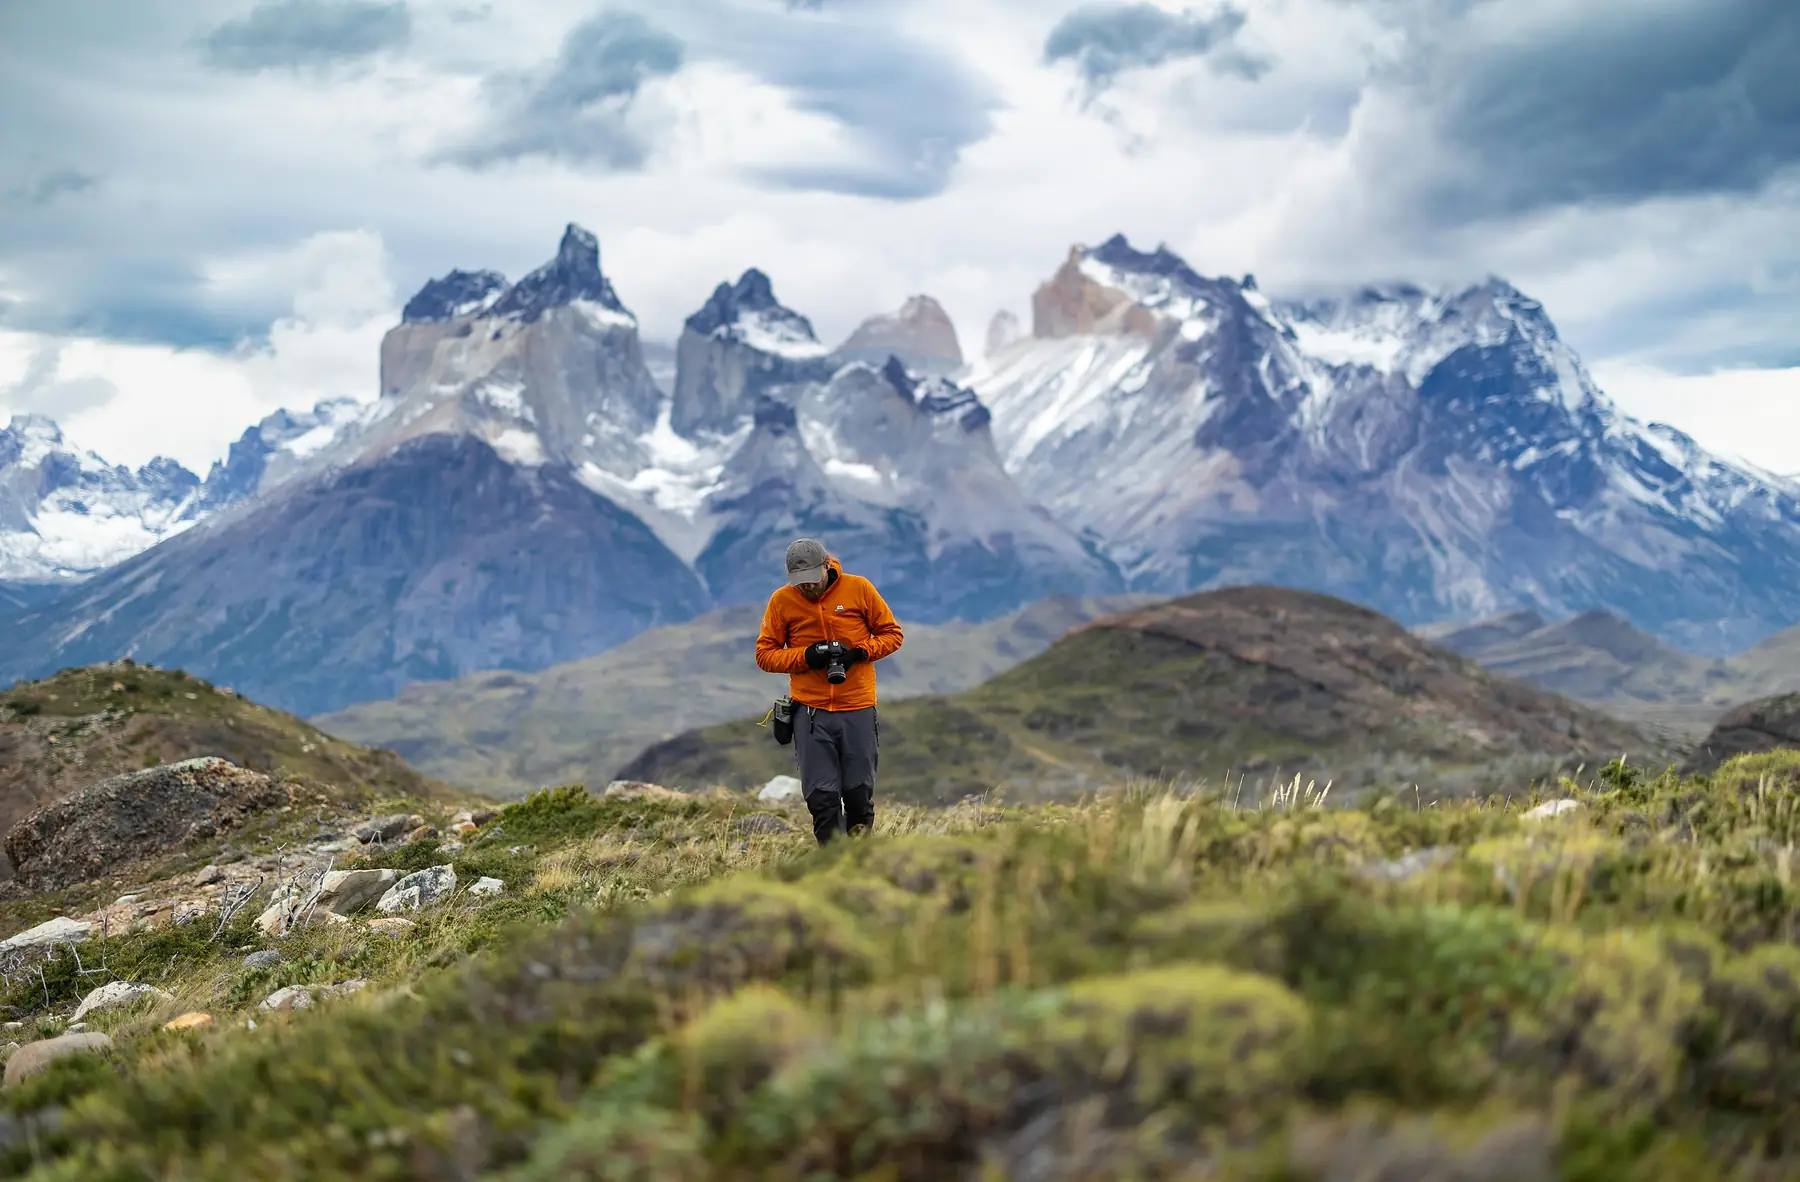
The W Trek covers roughly 70 – 100 kilometers depending on your specific route and side-trips. Unlike many mountain treks, Torres del Paine sits at a relatively low altitude, with most of the trail ranging from sea level to approximately 900 meters. This means you do not need to worry about altitude sickness, but you must be prepared for the high volume of movement and the relentless Patagonian wind.
The challenge lies in the “back-to-back” nature of the hike. On a standard 5-day itinerary, you will face three major climbs - the ascent to Base Torres, the trek into the French Valley, and the hike toward Glacier Grey. Each of these involves significant vertical gain – often 800 meters or more in a single day – on terrain that shifts from soft forest floor to unstable glacial moraine and large granite “steps.”
Because the terrain is often rocky and uneven, your joints and stabilizing muscles will work harder than they do on paved surfaces. Training must therefore mimic these conditions, focusing on balance and the ability to maintain form while fatigued. To see how these demands are distributed across the trip, consult our detailed W Trek itinerary.
The Four Pillars of W Trek Preparation
A balanced training plan for Patagonia is built on four distinct pillars. Neglecting any one of these increases your risk of injury or simple exhaustion.
- Aerobic Base: This is the engine of your trek. You need a strong cardiovascular system that can sustain a low-to-moderate heart rate for 6 – 10 hours a day. This is best built through “Zone 2” training – activities like brisk walking, cycling, or swimming where you can still hold a conversation.
- Functional Strength: Hiking is essentially a series of single-leg movements. Your plan must target the posterior chain – the glutes, hamstrings, and calves – which power you up the hills and stabilize you on the way down.
- Stability and Proprioception: The Patagonian wind can gust over 80 km/h, and the trails are littered with loose stones. Training your core and ankles to react to sudden shifts in balance is essential for preventing sprains.
- Specificity: You must train in the gear you will use. Your body needs to adapt to the specific “hot spots” in your boots and the way your backpack shifts your center of gravity.
Building these pillars requires a phased approach. You cannot rush the adaptation of tendons and ligaments, which take longer to strengthen than muscles.
Strength Training for the “Patagonia Knee” (Descents)
The most common physical complaint in Torres del Paine is not the climb up to the towers; it is the pain in the knees during the long descent. This is often called “Patagonia Knee,” and it is usually caused by a lack of eccentric strength.
When you walk uphill, your muscles shorten (concentric contraction). When you walk downhill, your muscles must lengthen under tension to act as brakes (eccentric contraction). This eccentric loading is much more taxing on the muscle fibers and the connective tissues around the patella. If your quads and glutes aren’t trained for this, your knee joints take the brunt of the impact.
To prepare for steep descents, focus on “step-downs” rather than just step-ups. Stand on a box or a stair and slowly lower one foot to the floor, taking 3 – 5 seconds to complete the movement. This specifically trains the eccentric control you will need for the descent from Base Torres.
In addition to step-downs, incorporate Bulgarian split squats and eccentric calf raises into your routine. A stable core is also vital; if your trunk sways when you are tired, your hips drop, which creates a shearing force on the knee. Planks and “bird-dogs” are excellent for building the deep core stability needed to stay upright in heavy winds.
The 12-Week W Trek Training Programme
This program is divided into four phases, designed to take you from a baseline of moderate activity to peak trail fitness.
Phase 1: Base Building (Weeks 1 – 4)
The goal here is consistency. Focus on 30 – 45 minutes of cardio three times a week and two days of bodyweight strength training. Do not worry about pack weight yet; focus on mobility and establishing the habit of movement.
Phase 2: Strength and Elevation (Weeks 5 – 8)
Start introducing vertical gain. If you don’t have hills, use a treadmill on an incline. Begin wearing your hiking boots for at least one walk a week and add a light pack (3 – 5kg). This phase builds the structural integrity of your joints.
Phase 3: Peak Performance (Weeks 9 – 10)
This is your hardest block. You should perform “back-to-back” long hike days – for example, a 15km hike on Saturday followed by a 12km hike on Sunday. This simulates the cumulative fatigue of the W Trek. You should be carrying 80 – 100% of your target trek weight during these sessions.
Phase 4: The Taper (Weeks 11 – 12)
Reduce your volume by 50%. Your body needs this time to repair micro-tears in the muscle and store glycogen for the trek. Keep moving with short, unweighted walks, but avoid heavy lifting or high-impact activities.
| Week | Cardio Focus | Strength Focus | Long Hike (Weight/Duration) |
|---|---|---|---|
| Week 2 | 3 x 40 min Zone 2 | Bodyweight basics | 2 hours (no weight) |
| Week 6 | 3 x 50 min Incline | Weighted squats/steps | 4 hours (5kg pack) |
| Week 10 | 4 x 60 min Incline | Full body functional | 6 hours + 4 hours (Full weight) |
| Week 12 | 2 x 30 min Flat | Mobility / Stretching | 1 hour (no weight) |
Assess your baseline
Before starting, walk 10km on flat ground. If you finish with significant joint pain, spend an extra two weeks in Phase 1 focusing on mobility.
Introduce the pack
By Week 5, start wearing your backpack with 3kg of weight. Use water bladders for weight so you can pour them out if you feel an injury coming on.
The Back-to-Back Test
In Week 9 or 10, hike for two consecutive days. This is the best indicator of whether your body is ready for the W Trek’s daily volume.
How to Train for the W Trek in a Flat City
If you live in a city without easy access to mountain trails, you can still achieve “mountain fitness” using gym equipment and urban infrastructure. The key is to simulate the vertical gain and the uneven loading of a backpack.
The “Stairmaster Protocol” is the most effective tool for flat-land training. Instead of just climbing at a steady pace, use intervals. Spend 5 minutes at a moderate pace, then 2 minutes at a higher intensity that mimics a steep scramble. Crucially, do not hold the handrails. Holding the rails removes the stability requirement from your core and ankles, making the exercise significantly less effective for trekking prep.
If you use a treadmill, set the incline to 10 – 12% and walk at a slow pace (3 – 4 km/h) while wearing your weighted pack. This builds the specific calf and Achilles strength required for the climb to the French Valley.
Stadium stairs or multi-story car parks are also excellent. Walking up and down stairs provides the eccentric loading that treadmills lack. If you are training at home, weighted box step-ups are the single most effective exercise. Find a sturdy bench or box and step up and down while wearing your pack, ensuring your knee stays aligned over your second toe.
Pack Weight Progression: From 0kg to 12kg
One of the most common mistakes is waiting until the first day of the trek to carry a full pack. Your shoulders, hips, and core need time to adapt to the “pull” of the weight.
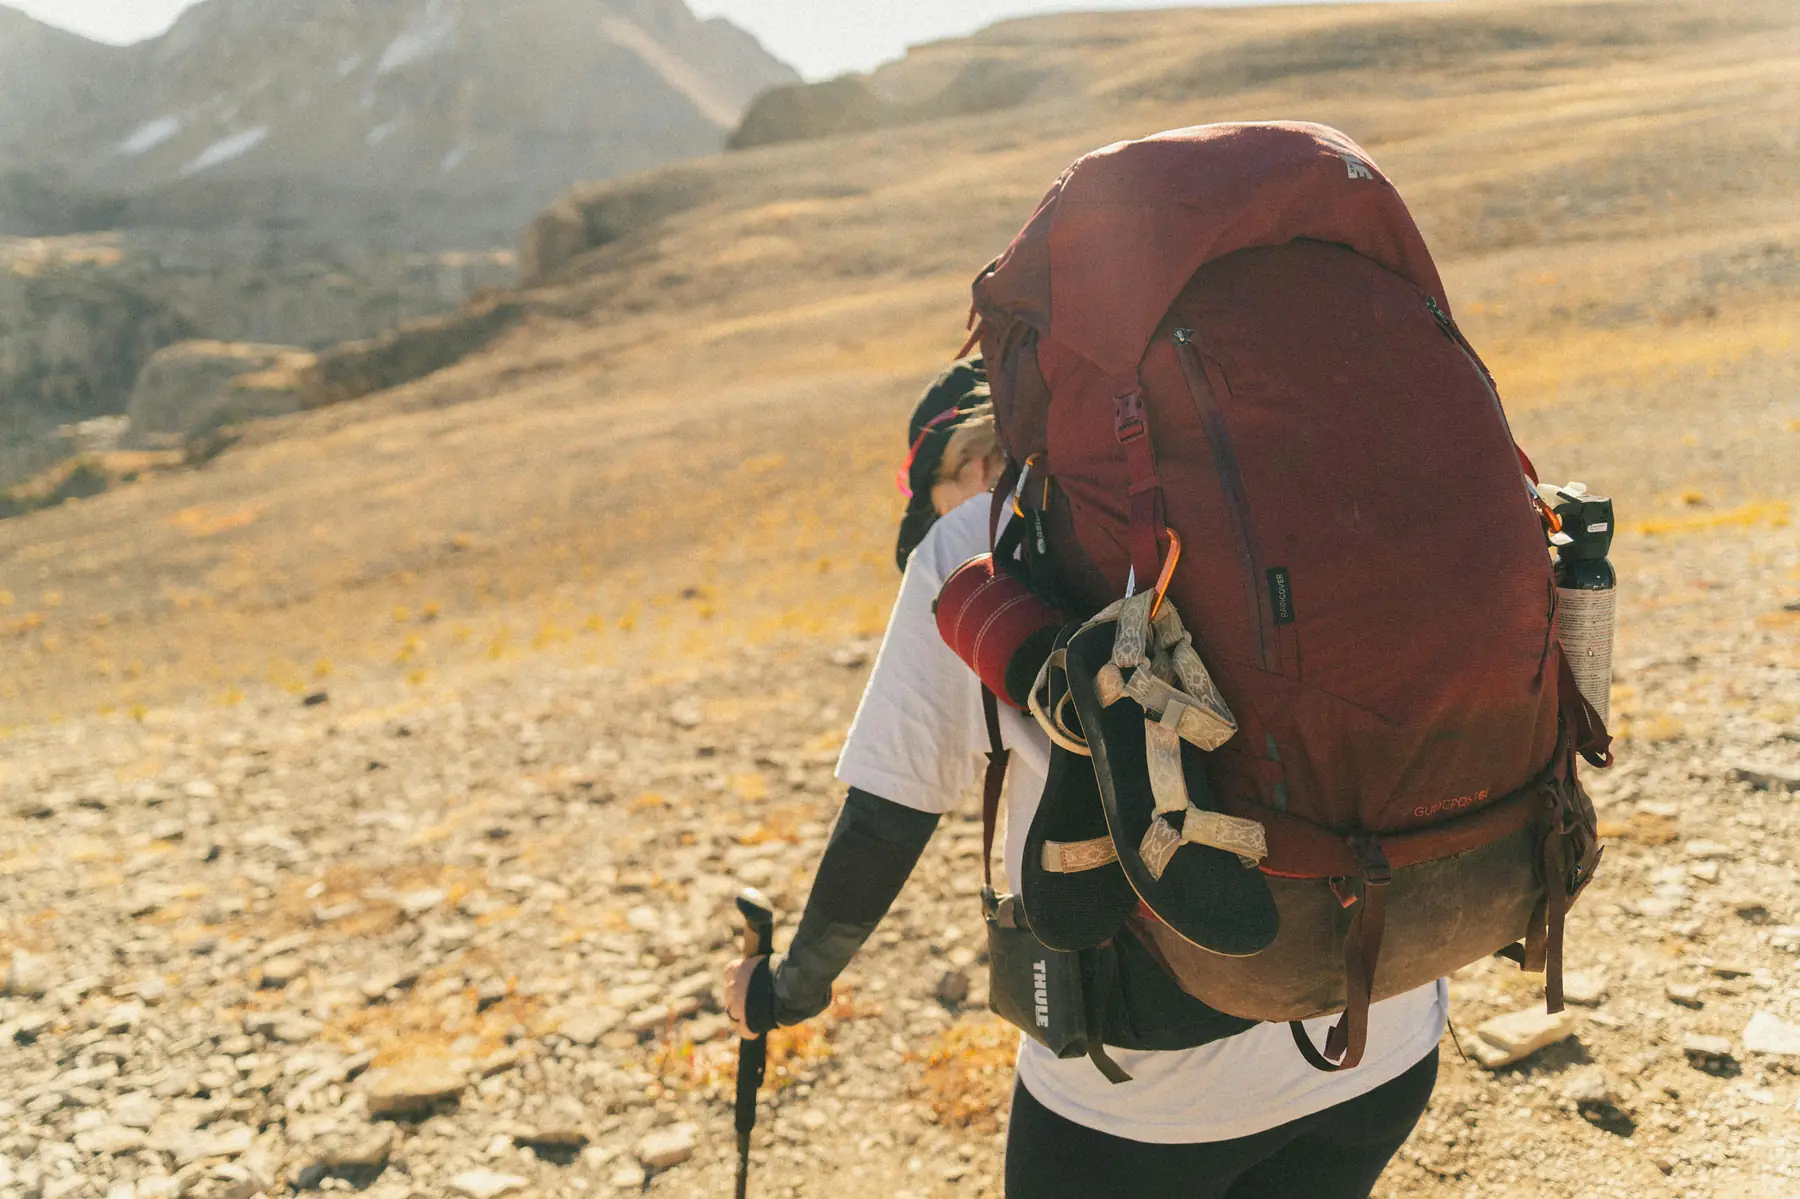
Your target weight depends heavily on your accommodation. As of the 2024/25 and 2026/27 seasons, if you are staying in refugios and eating provided meals, your pack will likely weigh around 7 – 8kg. If you are camping and carrying your own tent and sleeping bag, expect 12kg or more.
- Pack Weight: ~7kg vs ~12kg+
- Physical Toll: Lower impact on joints vs Higher demand on core/glutes
- Training Need: Moderate aerobic base vs Heavy focus on functional strength
- Recovery: Easier daily recovery vs Higher cumulative fatigue
Refugio stays allow for a 'fast and light' approach, but camping offers more flexibility for those with the fitness to carry 12kg+.
Follow the “10% Rule”: never increase your total pack weight by more than 10% per week. If you start with 5kg in Week 5, move to 5.5kg in Week 6. This gradual progression allows your spinal discs and shoulder tissues to toughen up without becoming inflamed.
Always train with “live weight” where possible. A water bladder or actual gear is better than a single heavy dumbbell in your pack, as gear shifts and settles, forcing your stabilizing muscles to react. For a complete list of what will actually be in that pack, see our ultimate W Trek packing list.
Trail Skills: Trekking Poles and Nutrition
Fitness is more than just muscle; it is also the efficiency with which you move and fuel. Two “soft skills” can significantly extend your endurance on the trail.
Trekking poles are essential for the W Trek. When used correctly – using the straps to take the weight through your wrists – they act as a “second set of legs.” This is particularly important on the rocky sections of the trail where a slip could result in a sprained ankle. Practicing with poles during your training hikes ensures you don’t waste energy through poor rhythm once you reach Patagonia.
Patagonian Mountain GuideThe people who finish the W Trek with a smile are the ones who learned to eat before they were hungry and drink before they were thirsty. In the wind, you don’t feel yourself sweating, but you are dehydrating rapidly.
“Digestive training” is also part of your fitness. During your long training hikes, experiment with different snacks to see what your stomach handles well at a high heart rate. The Patagonian climate is cold and windy, which burns calories quickly. You need calorie-dense foods that are easy to eat on the move.
To go deeper into the gear you should be practicing with:
FAQ Section
QUESTION: How fit do I need to be to hike the W Trek in Torres del Paine? ANSWER: You should be able to walk 15-20km for several consecutive days while carrying a 10-12kg pack. A moderate baseline of cardiovascular fitness is required, but “mountain fitness” can be built through a 12-week plan.
QUESTION: Can I train for the W Trek in only 6 weeks? ANSWER: While possible if you are already active, a 6-week window is the bare minimum for the W Trek and increases the risk of overuse injuries like shin splints or tendonitis.
QUESTION: How do I train for the W Trek without hills or mountains nearby? ANSWER: Use a gym stairmaster, perform weighted step-ups on a bench, or walk on a treadmill at a 10-12% incline to simulate the vertical gain found in Torres del Paine.
QUESTION: Should I train with my full W Trek backpack weight from day one? ANSWER: No, you should start with an empty pack to check for fit, then gradually increase the weight by 1-2kg each week until you reach your target W Trek pack weight.
QUESTION: Is running good training for the W Trek? ANSWER: Running is excellent for building the aerobic base needed for Patagonia, but it should be supplemented with strength training to prepare your joints for the specific impact of hiking.
QUESTION: Do I need to train with trekking poles before the W Trek? ANSWER: Yes, using trekking poles involves a specific rhythm and engages your upper body; practicing with them during your W Trek training hikes will improve your efficiency on the trail.